
And in case you're wondering why I haven't made these pictures big and lovely like in the previous post - well, it just looked silly that the card was bigger on screen than in real life. ;)


 Yet another nasty flash photo! But it's almost light enough outside to snap a decent photo by the window before leaving for work now, so you won't have to put up with these for much longer.
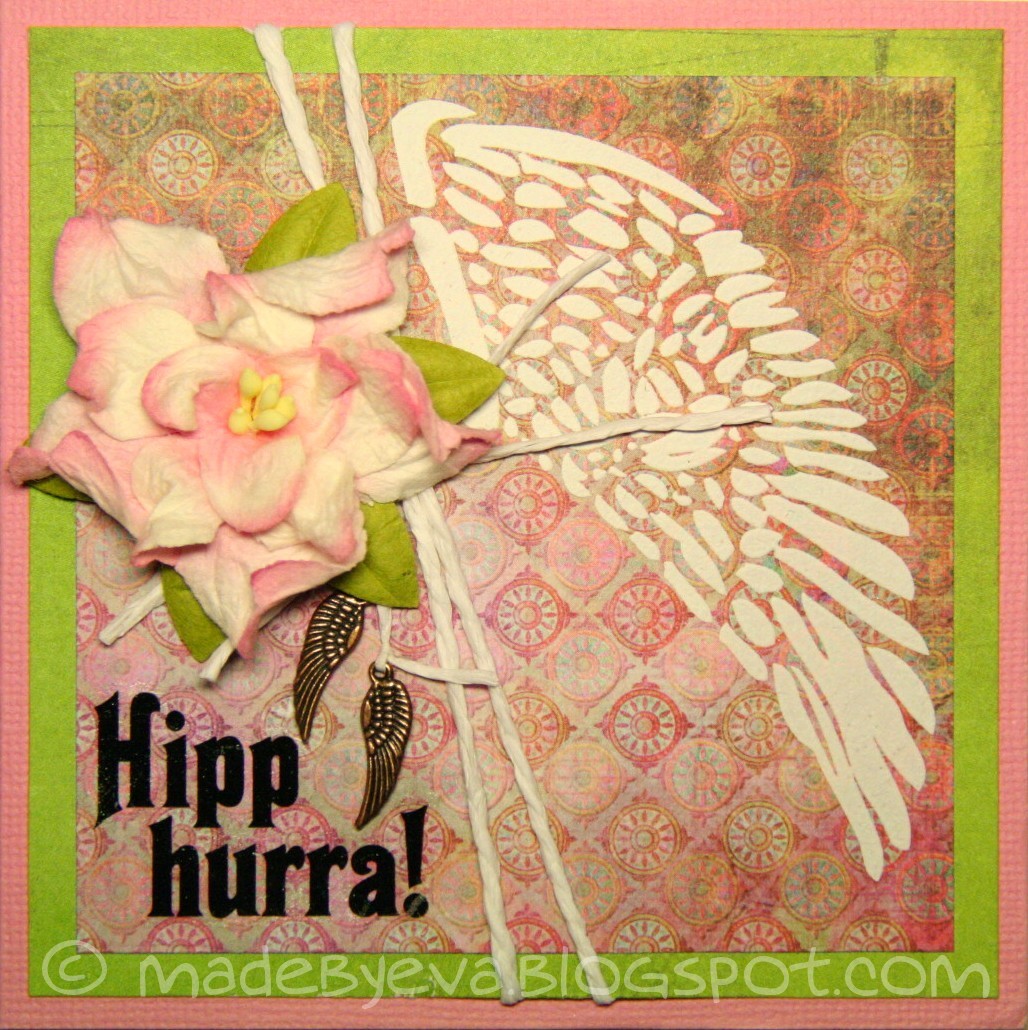
 Just a quick flash photo today, a card I made late at night for a colleague. That seems to be the trend these days, late night scrambling to get things done. But at least I've managed to dig my desk out from beneath a massive collection of accumulated odds and ends, so maybe there's hope for some more crafting in the near future?
 Oh the colours came out a bit weird on this one... It's actually a nice brown on kraft sort of thing. And there's that brown baker's twine again, I told you it was a current favourite! ;) Plain and simple, just twine, gesso and washi tape.
 Hello everyone! It's been a while... High time to bring some activity to this little blog! This card was halfway done for a long time, and I finally managed to colour in the stamp so I could give it away. That brown baker's twine is a current favourite of mine.
 After months and months of steel grey skies and seemingly unending downpour, this warm yellow alpaca yarn kept begging me to be wrapped around some knitting needles and made into something that could brighten up any rainy day! How could I resist? When looking through my Ravelry project page, it is immediately clear that this is most definitely not my usual colour scheme. I think I should be more bold in the future, because I absolutely love this shawl. :) The lovely yellow works well with both my dark grey winter coat, and my cool lilac autumn coat. A wonderful splash of colour!
 This shawl measures 62 cm from the neck down, 125 cm across. So, not a big shawl for me, closer to a shoulderette. I’m using this more as a scarf than a proper shawl, but it also works well if I'd like to cover up a V-neck top on cold days (as demonstrated in the first picture). The pattern is easily adjusted for size, because you can end on whatever number of repeats of the main flower chart you'd like.

 The idea of knitting a square blanket in the round seemed like an interesting concept, and I couldn't resist trying it. I've got a kind of ombre effect going on here, it starts light in the centre and darkens towards the edges. In a perfect world the transitions wouldn't be as distinct as they are - but that is determined by the yarn. Had I found yarns in more similar colour tones it would look smoother, but this isn't too bad. The centre is knit using two strands of the light pink, then one strand light and one strand dark pink is held together, then two strands of the dark pink, and finally the edge is done with one dark pink and one brown strand.
 The pattern looks soo much more complicated than it is! There's a system for adding stitches in the corners, but everything inbetween is identical for every pattern row. And you still get this cool, graphic pattern. Go figure. I think it would work for boys as well as girls, and have some plans for a green version some time in the future.
 I blocked the blanket to exactly 1m by 1m, because that't the size of my excercise mat. It shrunk down a bit afterwards, and the finished size is 90cm by 90cm. Details are, as usual, on my Ravelry page.
 In search of a christmas gift that needed to be done in less than a week, I came across this one. The cute pattern is slightly familiar, and I had some suitable yarn leftover from previous projects.
 The pattern is elastic and has a natural flare at the top and bottom, which is perfect! On a whim, I decided to add golden 6/0 beads to the top two candleflame tips. The yarn is dark, and I’m not sure it’s really her favourite colour exactly, so I figured the sparkle could lighten things up. :) Details on my Ravelry page.
 This dress got started before its recipient, my first niece, was even born... :P And then it spent several months in pieces in my yarn drawer, until I finally realised I had to start the dreaded sewing if it was ever going to make it into a christmas present. Isn't it pretty though? The instant I found the recipe I knew it had to be at the top of my Ravelry queue.
 The kimono closure at the front is so cute. I did a few extra rows with some holes for the addition of a ribbon, but made a twisted yarn ribbon instead of the suggested silk ribbon.
 This is the first time I've knitted cotton yarn and it was really really difficult at first! My fingers are used to wool and wool blends which flow so much more freely. The result is that the first two centimeters of the dress are loose and sloppy. I had knitted a long way when I realised the tension had changed that much, and after some deliberation I decided not to frog the whole thing. I still regret it a bit, but have tried to make it look as if it is an intentional widening at the bottom of the skirt.
 Grandma got a pair of mittens for christmas, too. She wanted useful things, and this should work, I hope. The pattern is, again, the same as the photographer's mittens, this time without any finger holes or flaps or anything. I couldn't resist doing a tiny little snowflake pattern in duplicate stitch, even though I really didn't have time. It could have been nicer, time permitting, but they'll have to do.
 Clean and simple! My grandma is a teeny tiny woman, so they are too small for me to model. You'll have to settle for these boring pictures, but you get the point. ;) The details are, as usual, on my Ravelry page.
 Some time before christmas I was fishing for hints on what I might knit for my mother for christmas. The information I gathered was: a shawl in a neutral colour, not too big, and it should be able to double as a scarf. So I went hunting on Ravelry and came up with one shawl after another, each recipe more detailed than the next. And then along came Kleks. :) I knew instantly that this clean and simple design would be perfect.
 The shawl isn't very big, but then neither is the recipient... It measures ca 55 cm from the neck down including the point), but a full 140 cm from end to end - the original recipe yields a semi-circle, but I've adjusted it to make a more stretched-out shape. This shape makes it suitable for both a displayed shawl and a rolled-up scarf version. (Also, please excuse these blurry photos. Daylight is sparse, even during the day. Oh where is the sun hiding?)
 Now, this design is simple, but curious. The lace sections are actually inside out - what you're seeing is the reverse side of a stitch pattern I've seen referred to as the raspberry stitch. I really like how this creates a striking contrast between the smooth stockinette sections and the rough, knobbly lace sections. The image above is the best I can do in trying to show you the effect. It's one of those details that provides that little extra kick to a simple design, elevating it over the rest.
 The edge has several points, each center point has a bead. Wow, what a relief to block an entire shawl using only 40 or so pins, instead of the 250-300 I've used on the last few projects! :)
 The technique I used to elongate the shawl gives some dramatic effects at the corners. When the shawl is worn, this part hangs in pretty folds.
 Time to start revealing some christmas gifts, now that the recipients have torn away the paper and hopefully enjoyed what they found. :) First out is this pair of mittens I made for my cousin. She's a mommy to two little ones and I hope this will be a practical thing to have around this winter. Now, she can fold the flaps back and to fiddly little things like retying shoelaces and so on, and then just pop the fingers back in to keep them warm.
 They started out being based on my photographer's mittens, but instead of a hole for the index fingers I made a flap that covers the four finger group. It might not look like it, but the flap was knitted first and the "inner tube" picked up from live stitches (palm side) and knitted into purl bumps (back of the hand) afterwards. The result isn't too bad! There are probably some great recipes for this flap thing out there, but I was in the swing of things and just winged it. Details on my Ravelry page as usual.
 Just stopping by to wish you all a joyful christmas celebration!


