
Tuesday, July 24, 2012
Sugary sweet

Monday, July 23, 2012
Maile baby jacket


I soon realised that this yarn combo would make the jacket larger than 3 months, which is just fine, babies grow so fast anyway. I just added a few cm of length to the body and sleeves before starting the raglan to keep the proportions right.
Details on my Ravelry page.
Saturday, July 21, 2012
Smart phone cozy

I specifically chose a yarn that doesn't shed much - Ella Rae Lace Merino. Too pretty a yarn to spend on such an ordinary project perhaps? Oh well. I splurged on the phone, it deserves a luxurious home. :P
The label says 3,5mm needles are recommended. I cast on 2x22st on 2,5mm needles using Judy’s magic cast on, keeping the gauge fairly tight. Decreased 4+4sts in second half of ribbing. The phone doesn’t slip out by accident now, but it wouldn’t have hurt to have decreased another 2-4sts in case the ribbing in the turtleneck gets a bit looser with use. Good excuse to make another one? I want to make a TARDIS cozy next. :) Ravelry link.
Friday, May 18, 2012
Not-so-frozen leaves beaded shawl

The thing about lace knitting... There are only a few items that allow you to immerse yourself in that kind of knitting, and those are shawls, scarves and table cloths. And since lace knitted table cloths really aren't anything I'd ever use, shawls it is. This pattern is called Frozen Leaves, but I've done mine in a lush, vibrant green and beaded it for added shine.

The yarn, however, is gorgeous! DROPS Kid-Silk is soft and thin, and still strong. The matte, dark green mohair has a light, glossy silk core that gives lots of shine and life to this shawl. It’s strangely warm despite its feathery light feel… :)

There are twelve leaves along the center spine, and a few rows of filler pattern at the edge. So this is quite big. Finished measurements: 90cm from the neck down, 180 cm across. Big&beautiful. The beads really make a big difference, adding a lot of shine and brightness to an otherwise quite dark shawl. Love it. :) Details on my Ravelry page.
Wednesday, May 16, 2012
The wedding standard

Whenever I get a request for a wedding card, I immediately reach for the white and silver cardstock. It's the silver standard, so to say, for my wedding cards. This one came together quite quickly for that reason - no tricky colours to match or contrast, no long hunts for that perfectly coloured embellishment. Neutrals I've got. ;) The layout is also very familiar by now... Three cheers for effectivity!
Monday, May 14, 2012
Sunday mittens

After my Echo Flower shawl, I had enough yarn left for something small to match. These mittens caught my eye and was made with just over one skein DROPS Alpaca. I am so pleased with these! The lace pattern looks beautiful and they are a great fit on my hands.


The mittens underwent the weirdest blocking process ever. I nibbled away at two corners on two large chocolate bars (making the ends slightly pointed), replaced them in their plastic wrappers, and stuffed them into the wet mittens! :P It worked great by the way - now they’re just a tiny bit looser around my finger tips. Perfect! Details on my Ravelry page as usual.
Thursday, May 10, 2012
DIY distressed photo canvas

There's a ton of detailed tutorials out there on how to do this, check this one out for example. I'm not going to bore you by repeating it - but since there are so many variations, here's a super quick recap of the choices I made: After tweaking the picture to my liking (and mirroring it!) I printed it on a laser printer on ordinary printer paper. I used a thin layer of Golden Gel Medium (Soft Gel, semi-gloss finish) to attach the picture and three more coats after removal of the paper pulp, for a good seal. Then used the same medium to fasten the lace, which wraps over the canvas edge. The string was the final touch - it's something K's mom does when she makes her own art, so this canvas should fit in nicely in their home.
The transfer of the photo was nearly perfect! In fact, far too perfect for the look I was trying to achieve. So I scrubbed really hard along the edges of the photo, even scratching it with my nails, to give it a more distressed look. I also sanded down my signature (bottom left corner) a bit.

When I chose the lace it was late at night, and the sunlight the next morning sent me into a bit of a panick. The lace was crisp white and the canvas is off-white - a difference that was invisible in lamp light, but incredibly ugly in sunlight. What to do, what to do... DistressInk to the rescue! I carefully inked the lace and sides of the canvas and the problem was solved. In fact, I probably should have inked it even if the lace matched the canvas. The darkened edge (which is surprisingly difficult to see in these photos) created that depth and definition that pulled everything together, and it echoes the brown string. All in all, this was an easy project that looks awesome. :)
Tuesday, May 8, 2012
It's the little things that make life big

Sunday, May 6, 2012
A little hello

Friday, May 4, 2012
Happy birthday

Wednesday, May 2, 2012
Happy day

Monday, April 30, 2012
Tiny cards

And in case you're wondering why I haven't made these pictures big and lovely like in the previous post - well, it just looked silly that the card was bigger on screen than in real life. ;)
Friday, April 27, 2012
Short-sleeved pink toddler jacket


The original lace pattern annoyed me to no end and didn't look like the pictures, so I made up my own (simpler) version. It basically looks almost the same, but knits up much easier. I chose a cabled cast-on and it looks gorgeous. When it came to casting off, I had hoped to find a pretty technique that could match the cabled cast-on, but hours of googling left me with nothing that looked good on garter stitch. My crazypants solution was to cast on the same amount of stitches with the pretty cabled cast-on and grafting it to the jacket. It was worth it (that’s my story and I’m sticking to it).

Look at that back! Oooh... Also, I did a little trick with the neckline that I absolutely love. One extra stitch and a slipping technique gave me that gorgeous unbroken column of stitches running along the top (picture below). I learned that one from the baby "bunting bag" I did last fall. Details, as usual, on my Ravelry page.

Oh, and by the way: I've tweaked the HTML coding so that I can have these lovely big pictures! :) :) I love it and it looks fine from this end, but if you're having trouble viewing the blog, feel free to leave me a note.
Thursday, March 15, 2012
Mini card for a baby girl
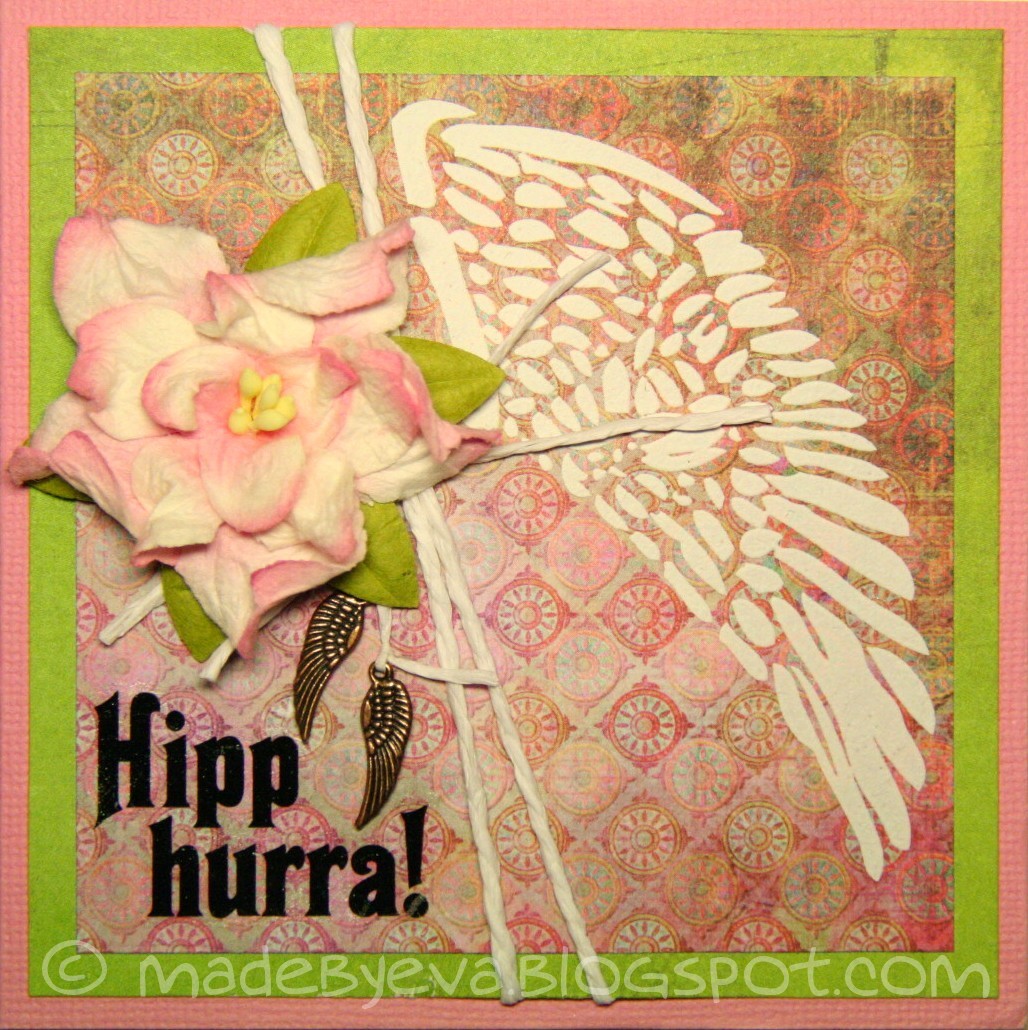 Yet another nasty flash photo! But it's almost light enough outside to snap a decent photo by the window before leaving for work now, so you won't have to put up with these for much longer.
-
This card is small, 10 x10 cm. Usually I love working in that format, but this one took some time. The pattern papers were scraps I collected in my recent desk clean-up project, so I'm not entirely sure where they came from... The white rub-on wing is by Hambly Screen Prints.
Friday, March 9, 2012
Hip hip hooray
 Just a quick flash photo today, a card I made late at night for a colleague. That seems to be the trend these days, late night scrambling to get things done. But at least I've managed to dig my desk out from beneath a massive collection of accumulated odds and ends, so maybe there's hope for some more crafting in the near future?
These papers are of the few I have remaining from the lovely BG Wisteria stack. Most of them are the greenish-brownish kind that I have so much trouble finding matching cardstock to, but that flowery one had some lilac I could tie in and so the solution was obvious. :) My MS punches have been left alone in a drawer for far too long, it was about time one of them got do do some work...
Subscribe to:
Posts (Atom)


