
Saturday, April 27, 2013
Procrastination
Monday, April 22, 2013
Gift box

-

Monday, April 15, 2013
Gunn Berit 60 years

Also, please excuse the teal tinge in the picture... Bad light, bad camera settings. Sloppy photography, this is. It's really white and silver, I promise. :)
Monday, April 8, 2013
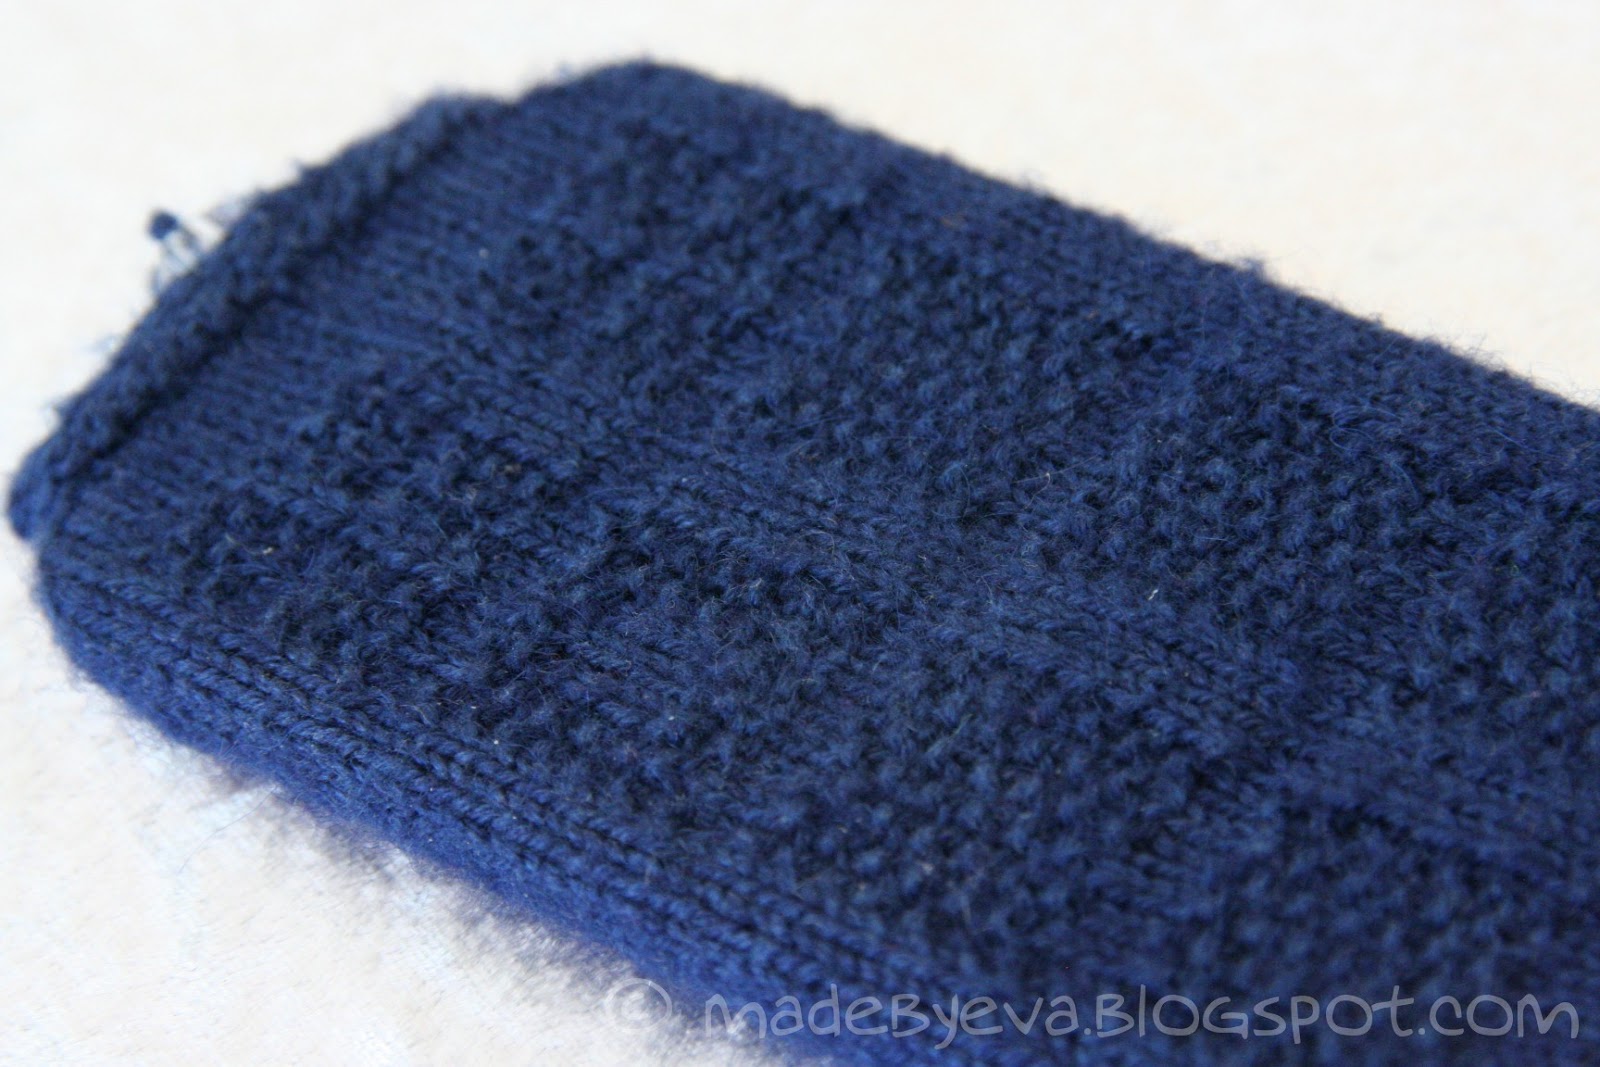
TARDIS phone cozy

There are lots of TARDIS cozies out there, but I wanted one that was more elegant, more stylish, and in a thinner yarn, and so decided to make up my own. Those who don’t watch Doctor Who (what?!?) will see this as abstract decoration, but I know better. ;)
-

-
Monday, April 1, 2013
DIY portable yarn case
Having done a lot of knitting with DROPS Baby Alpaca, I've had some issues with the very loosely wound skeins. They have a tendency to disintegrate and become a tangled mess in my knitting bag. Annoying. So I figured I would have to love to figure out a DIY solution, something lightweight and sturdy. And so I did! Now, I might have spotted something like this around the mighty interwebz at some point and the idea buried itself in my back drawer of inspiration... Or possibly, this photo of a bagel case that has done the Pinterest rounds lately might be where I got the idea, who knows. But I've had so many questions and comments about my case that I figured it deserved its own post anyway!
-
The construction process is simple: Find a CD/DVD spindle case you don't mind destroying repurposing. Make sure your skein will fit - there are many sizes available. Cut away the center pole in the base (now becoming the lid), leaving a hole in the center. Warning: this will take a sharp craft knife and some effort, as the plastic is quite sturdy. Some sort of power tool would probably make this task easier. Avoid cutting where the plastic is thickest and protect your fingers!! Missing fingers are not really an advantage for a knitter. Just saying.
-

-

Ready to start knitting! If you pull out too much yarn, just unscrew the lid and pull the yarn back, coiling it in the center, and reattach the lid. With this design, you'll have to place new skeins in the case before joining the yarn to the knitting - once you've started knitting with it, it's too late. If this is a deal-breaker for you, I suppose you could cut a slit from edge to center hole and slip the yarn through it, but that would be more trouble than it's worth for my part. It may affect stability and create edges that could catch the yarn and damage it. This version is simple, strong and functional.
-

The finishing touch: However hard I tried, I could not cut or
sand the opening smooth enough to
keep the yarn from snagging, so here is my own solution: I mixed a
large dollop of epoxy glue, spread it on the edge of the opening and
rotated the lid so the epoxy coated the cut edge evenly all around and on both sides of the lid. This requires a
few minutes of continuous
attention, but epoxy hardens fairly quickly and after a while you can
put it down for a few minutes before flipping or rotating it. Just don't
ignore it for too long until it has properly stiffened. When cured, the
epoxy is perfectly smooth, even with all those bubbles! The yarn slides out easily without any damage.
If any of you read this and make your own, I'd love to know! Leave me a link in the comments and I'll come and check it out. :)
Subscribe to:
Comments (Atom)


