Showing posts with label Knitting. Show all posts

Friday, July 24, 2015

Kelsey baby dress

Tiny dress for my newest baby niece! In a soft, dusty pink of course. I really like this little dress. It's simple and fast to make, but with enough detail to keep me interested. Lovely skirt pattern to balance the plain, but nicely structured top. Details and pattern links on my Ravelry project page.
 -
The pattern is one size only - 12 months - so I changed yarn weight and needles to make the dress a little bit smaller than the pattern. Forgot to weigh it, so yardage unknown. Other mods: Inserted slit in neckline, with crochet loop and button closure. Lengthened skirt and sleeves slightly.
-

Monday, May 18, 2015

Baby bonnet for the surprise baby shower

For the surprise baby shower that last week's card was for, I had to quickly throw together a gift as well. By a little accident, I didn't receive my invitation until the night before, so completing the already started knitting project was not an option. I must have been mad to start a new project an hour before midnight, but some intense knitting that night and the following morning resulted in this little baby bonnet.
-
The pattern is a simple 2x2 rib with eyelets and a spiralling decrease in the back. Have a look at my Ravelry project page for the details.
-

Monday, April 20, 2015

WIP: Beekeeper's madness

Reasons to knit the Beekeper’s Quilt: It’s so cute and squishy!!

Reasons NOT to knit the Beekeper’s Quilt: I have no need for a heavy blanket. I get bored without lace. I can’t stand seaming. I’m not fond of mismatching colours. I don’t have a lot of leftover sock yarn lying around. And I really should be knitting gifts for my nieces instead.

So clearly, the pro side wins out on this one. :) Let the madness begin!

Monday, April 13, 2015

Reid toddler cardigan

This toddler cardigan was knitted in a frenzy so to be ready for Christmas… The pattern is uncomplicated with an easily memorized repeat, so thankfully it didn't take long!
-
My gauge was ever so slightly larger than in the pattern, so it’s a bit bigger even though I blocked it very gently, trying to stretch it only lengthwise. Better too big than too small, I always say. It’s still a little bit too short though... I also made a couple of other modifications, have a look on my Ravelry project page for the details.


Monday, April 6, 2015

Chalice scarf

I’ve never knitted with linen before, but Line by Sandes Garn is a linen-cotton blend that I’ve seen used successfully in lace patterns so I gave it a go and it worked well. The pattern, Chalice, is actually a baby blanket, but was easily modified to a scarf. For the details, have a look on my Ravelry project page.
-
I added clear faceted beads in a triangular pattern at each edge. Even though the yarn is lovely, it just needed that little sparkle of light.
-
A provisional cast on enabled me to work the pattern seamlessly from the centre of the scarf towards the edges. This means the pattern is offset by half a stitch in the centre, but I think it looks pretty good. Much better than a seam!

Monday, March 23, 2015

Oceanspray edging scarf

I love the edging of the triangular shawl Oceanspray, but the body is a bit on the dull side for me. But then I came across this project and realised there was a way to utilise that edging in a different way! I've added a garter stitch border where the main body would be, it is widest at the centre and tapers towards the edges. This, along with some intentionally curved blocking, helps create a crescent shape that falls nicely over the shoulders.
-
For the details on how I modified the pattern, please visit my Ravelry project page.
-

Friday, September 19, 2014

My heaven

This shawl, you guys, this shawl... Wow. It's been a long time coming - I cast on in the summer of 2012!

I wanted something complicated as a contrast to a garter stitch project I had started at the same time, and complicated is truly what I got. That edging was no walk in the park! I had not one, but two lifelines in my knitting until that edging was done, and I needed them both on a couple of occasions... In contrast, the main body was done in three intensive knitting days.

It's big and airy, with incredibly open lace, a challenging edging and a much easier main body. I loved this project even though it had many long rests. Tricky thing to photograph too, I can't seem to get the colour right in any of my pictures. It's darker and less pink than in the pictures below.

 I did a few modifications to the pattern, but I won't bore you with it here. Have a look at my Ravelry page for the details.

Post-blocking measurements: 85 cm from neck to corner, 170 cm across. Bigger than anticipated, and I still feel like I could stretch it just a little bit more. Blocked to a round-ish triangle. Love the result! :)

Sunday, September 7, 2014

Lady Emmeline

Hi everyone, it's been a while! Anybody still reading? :)

I've got a few things to show you. I thought I'd start with this cutie, the Lady Emmeline toddler cardigan. Check out my notes on Ravelry if you'd like to check out the details and find the free pattern. It's knitted in Mini Duett, which is 50% wool, 50% cotton.

So this is a new discovery: I love slip stitch patterns. :)
It looks like stranded knitting (which I avoid if at all possible), but knits up without a fuss and with a very tidy WS. One colour at a time! I'll definitely do a similar pattern in the future.


I knitted the 4 year size hoping that my yarn/needle combo would make it a better fit for the 3 year old recipient - while keeping the length measurements of the larger size, as this little lady is quite tall. I was, however, quite shocked when my width measurements came in under the 2 year size! Thankfully the blocking solved that without problems. This thing could probably be stretched and blocked to fit a 6 year old just fine.

See what I mean about a tidy wrong side? That's just wonderful. Hardly any floats for little fingers to catch on. In a way, I almost like the WS better...??


Tuesday, March 11, 2014

Luxury silk shawl

This shawl is knitted in the most luxurious yarn I've used yet: Handmaiden 100% silk, hand painted in the most amazingly beautiful colours. It took three weeks of internal debate before I had the nerve to open my wallet for this skein… So expensive. But sooo beautiful! The shawl is blocked to a radius of 67cm, which was probably a bit much - the last few pins had to be pulled very hard… But she’s still in one piece, and the lace pattern looks good. :)
 
I've combined two patterns from a set for this shawl: Camping and Gull Wings. Stitch count calculations for the pattern transitions can be found on my Ravelry project page. In fact, I could happily knit an entire shawl in the Slanting Twigs chart, that curvy section in the middle... Love the look, it's a bit unusual with its asymmetry.


The above picture shows the colours exactly as they are, no enhancement. Amazing! The impression is a bit calmer in general, because of the airy pattern and light reflective quality of the silk. Mainly golden and silvery, with spots of bronze and blue. Some colour pooling issues in parts of the Gull Wings section, but not too bad. Pretty much exactly half a skein used, so she weighs next to nothing (~50g). And it means that I actually have enough yarn for another shawl! What to knit, what to knit..... :) :)


Saturday, February 22, 2014

Small sunday mittens

I've made these mittens once before, and loved the look and fit. Hoping to make the same pattern fit my grandmother's smaller hands, I've made these in DROPS Lace, which is a considerably thinner yarn. Let's hope that worked well... My gauge on the stockinette section is 50 stitches per 10 cm! That’s a new record. Ravelry link.

Beautiful cable and fan pattern, smooth stockinette with nice thumb shaping.
Below: how to block mittens without special tools: Nibble away at a big chocolate bar and wet block on that! Any excuse to eat chocolate is welcome (not that I need one). :)


Monday, February 3, 2014

Mini short-sleeved cardigan

I've had a go at making the 1-2 year size in a slightly thicker yarn than specified in the pattern, hoping it would be a nice fit for a girl that’s 2,5 years old. It's probably a bit big... But better too big than too small! Because the little lady who is to receive this thing tends to become very hot when wearing wool, I decided to ditch the sleeves and just did a few rows of garter stitch to finish the arm holes. I like the look. :) Ravelry link.

Love the look of this yarn! A simple pattern was definitely the way to go - the stockinette section really shows off the changes in colour and thickness.


Thursday, January 23, 2014

Pink summer tunic

My niece usually gets a knitted garment for birthdays and Christmas - I'm going to do it before she doesn't want to wear hand knits any more! We all know that time comes, sooner or later. This was her birthday gift, a fairly short tunic in DROPS Lace held double. I have so much of that yarn I can never knit it all into shawls, so clothes it is. The result is an impossibly soft and light summer tunic.

The pattern is simple and easy-going, which of course means that I inevitably get bored before reaching the half-way point. On the other hand, stockinette in the round is incredibly fast knitting! The Instagram picture below shows ALL the yarn I had left of my 800 meter skein… Phew!! Ravelry link.


Monday, January 13, 2014

Purple Echo shawl

I've made an Echo shawl once before, and liked the pattern for its ease and look. The rounded flowers are a nice change from the more angled stuff you usually see. Being familiar with the pattern, I knitted this one up in no time. Because of an originally tight time table, I did 7-loop nupps instead of 9-loop, but they look good all the same. Blocking was done a bit more aggressively than the first time, because the yarn is springy, and during the first few days of wearing my first shawl shrunk back a bit. Ravelry link.


Saturday, April 27, 2013

Procrastination

When the to-do's become must-do-now's, which too often become should-have-done-last-week's, I usually go and grab some yarn and get knitting instead. This skein of DROPS Lace is a lovely mix of greys and the pattern is the Sunday mittens I've done once before. Using this thinner yarn, I'm hoping to make a pair that fits the tiny hands of my grandmother. My gauge is a whopping 50 stitches per 10 cm of stockinette stitch! That's a record. Also, that means I can procrastinate for a reeeeally long time with these mittens... Ravelry link.

Monday, April 8, 2013

TARDIS phone cozy

My phone already had one cozy, but I couldn't resist making this one too... The design is subtle, but if you know your Doctor Who you might recognize it as the TARDIS!
There are lots of TARDIS cozies out there, but I wanted one that was more elegant, more stylish, and in a thinner yarn, and so decided to make up my own. Those who don’t watch Doctor Who (what?!?) will see this as abstract decoration, but I know better. ;)
-
I found the bead in my stash and it's a perfect analogue to the TARDIS lamp! It’s attached to the back so it won’t scratch the screen - a loop on the front side closes the cozy and brings the bead forward.
-
The seed stitch mimics the door panels and there is a slight hint of window frames and the famous sign in one panel. The effect is subtle, and that's what I wanted. Details on the construction can be found at my Ravelry project page as usual.

Monday, April 1, 2013

DIY portable yarn case

Having done a lot of knitting with DROPS Baby Alpaca, I've had some issues with the very loosely wound skeins. They have a tendency to disintegrate and become a tangled mess in my knitting bag. Annoying. So I figured I would have to love to figure out a DIY solution, something lightweight and sturdy. And so I did! Now, I might have spotted something like this around the mighty interwebz at some point and the idea buried itself in my back drawer of inspiration... Or possibly, this photo of a bagel case that has done the Pinterest rounds lately might be where I got the idea, who knows. But I've had so many questions and comments about my case that I figured it deserved its own post anyway!
-
The construction process is simple: Find a CD/DVD spindle case you don't mind destroying repurposing. Make sure your skein will fit - there are many sizes available. Cut away the center pole in the base (now becoming the lid), leaving a hole in the center. Warning: this will take a sharp craft knife and some effort, as the plastic is quite sturdy. Some sort of power tool would probably make this task easier. Avoid cutting where the plastic is thickest and protect your fingers!! Missing fingers are not really an advantage for a knitter. Just saying.
-
Place your center-pull skein in the spindle case. You can see that mine is actually a perfect fit. Lucky me! For a bigger skein, use a bigger spindle case. Feed your yarn tail through the opening in the lid and screw it on.
-
Ready to start knitting! If you pull out too much yarn, just unscrew the lid and pull the yarn back, coiling it in the center, and reattach the lid. With this design, you'll have to place new skeins in the case before joining the yarn to the knitting - once you've started knitting with it, it's too late. If this is a deal-breaker for you, I suppose you could cut a slit from edge to center hole and slip the yarn through it, but that would be more trouble than it's worth for my part. It may affect stability and create edges that could catch the yarn and damage it. This version is simple, strong and functional.
-
The finishing touch: However hard I tried, I could not cut or sand the opening smooth enough to keep the yarn from snagging, so here is my own solution: I mixed a large dollop of epoxy glue, spread it on the edge of the opening and rotated the lid so the epoxy coated the cut edge evenly all around and on both sides of the lid. This requires a few minutes of continuous attention, but epoxy hardens fairly quickly and after a while you can put it down for a few minutes before flipping or rotating it. Just don't ignore it for too long until it has properly stiffened. When cured, the epoxy is perfectly smooth, even with all those bubbles! The yarn slides out easily without any damage.
If any of you read this and make your own, I'd love to know! Leave me a link in the comments and I'll come and check it out. :)

Monday, March 11, 2013

Water bottle cozies

The coffee machine at work broke this summer. This wouldn't have been much of a problem, except that I relied on it to supply me with ice cold, filtrated water as well. With no replacement in sight and the tap water there pretty much undrinkable, I had to solve the problem myself. So I started freezing a half full bottle of water at home and bringing it to work.
-
Now, this worked just fine, but I noticed a couple of things I knew I could find a solution to.
First: A bottle of ice water is, well, cold. No surprise there. Which made my fingers cold, which made my patients jump and twitch when I touched them, which, in turn, made taking x-rays of them a little bit tricky.
Second: If I left the bottle on a desk somewhere and didn't come back to it for an hour or so, it would collect quite an impressive puddle of condensed water. Which was merely inconvenient when the water dripped down my uniform making it half transparent, but really quite dangerous when the water gravitated towards electrical stuff (and that stuff's pretty much everywhere in a radiology ward).
Third: On hot days, there just wouldn't be enough ice to last the shift, even if I froze the bottle nearly full.
-
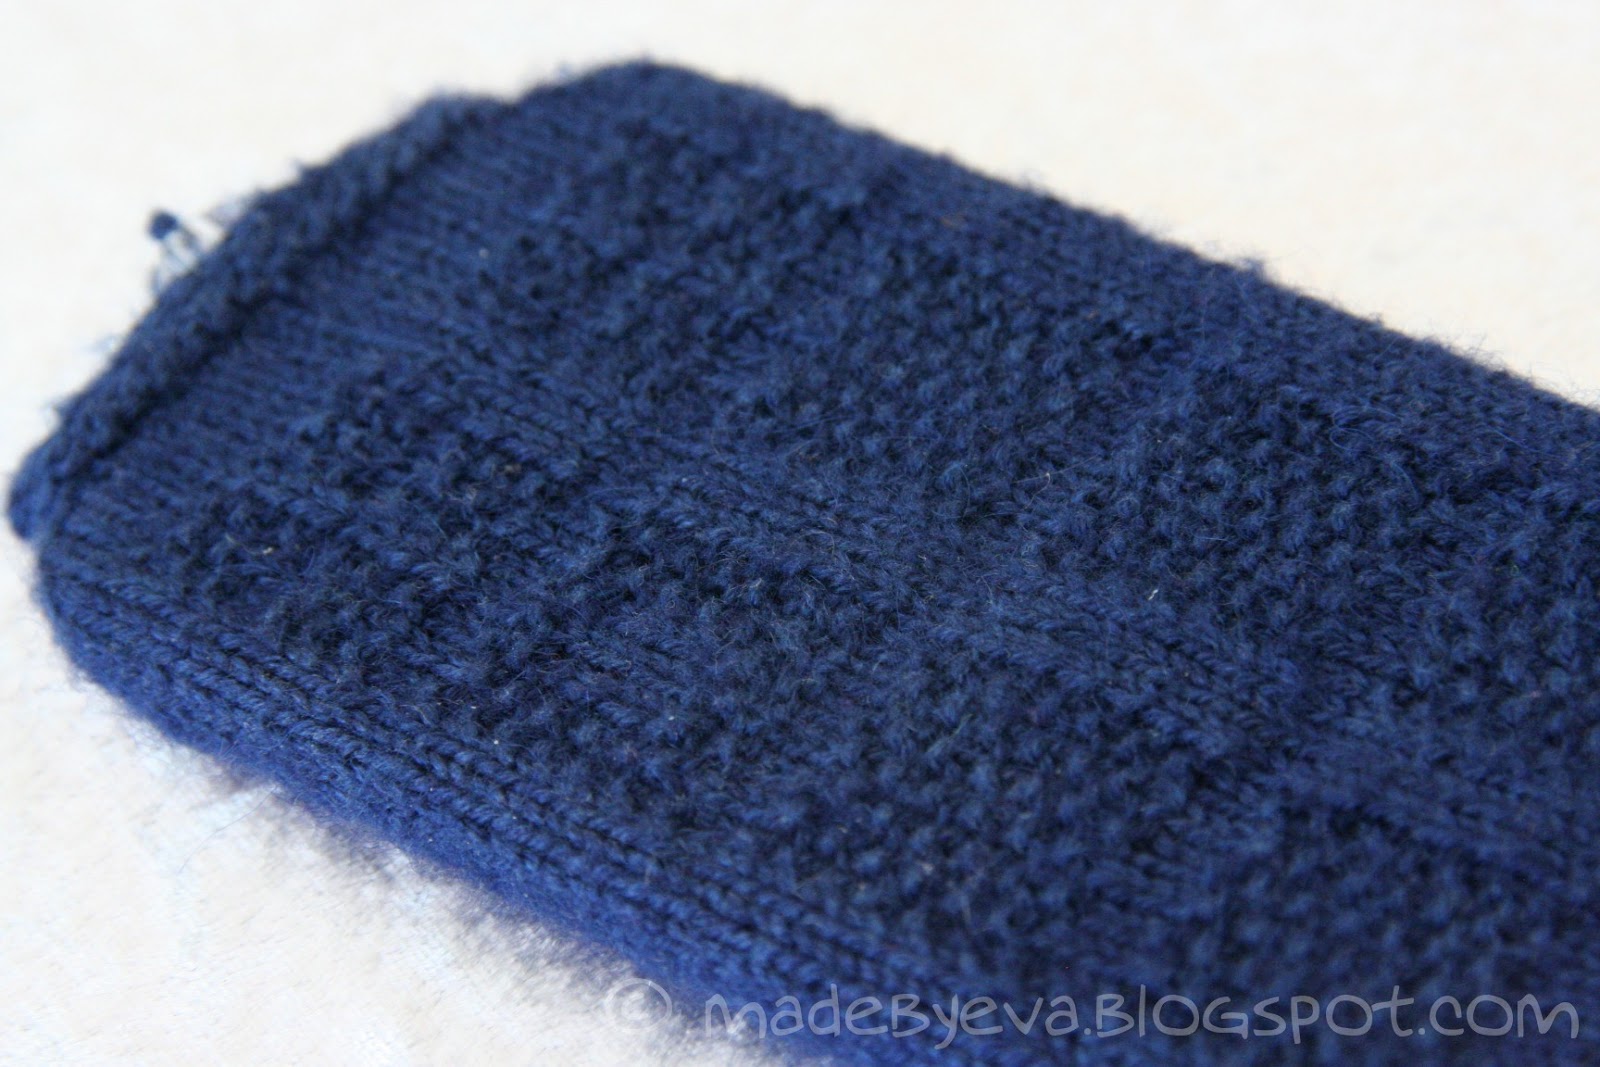
The bottle cozy not only keeps the water cold for longer, but is also nice to the touch and completely eliminates condensation. I brought it along on a canoe trip this summer, and enjoyed ice cold lake water the whole day, to the slight envy of my friend. I made her and her husband one each for christmas. :) Also, my cousin got one, but I seem to have forgotten to photograph it... Not a very exciting object, I suppose. I've got two myself, one for the 0,7 litre Imsdal bottle, and one for the 0,5 litre bottle.
-
How to make them, you ask? Well, it goes like this. Find a medium to thick yarn of 100% new wool, a hook that's one size smaller than recommended for the yarn. Make a tight spiral for the base, and just stop increasing when you start the wall. The cozy should be slightly wider and taller than your bottle (that's a precise technical measurement term, that). Hand felt in soapy water until snug (testing the fit regularly) and allow to dry on the bottle (refilling the bottle with warm water now and then speeds up that process). Ta-da, enjoy ice cold water anywhere. :) Ravelry links one, two, and three.
-